
If you’ve ever searched for DIY window tint, you’ve probably seen videos that make it look simple. A spray bottle, a squeegee, a steady hand — and suddenly your windows look professionally finished.
In reality, DIY window tint is one of those projects that appears easy but quickly becomes frustrating, messy, and expensive if done incorrectly. Many of these videos and guides are created by manufacturers who simply want to sell a mediocre product. Whether the general public actually has the ability to complete the installation is rarely their concern.
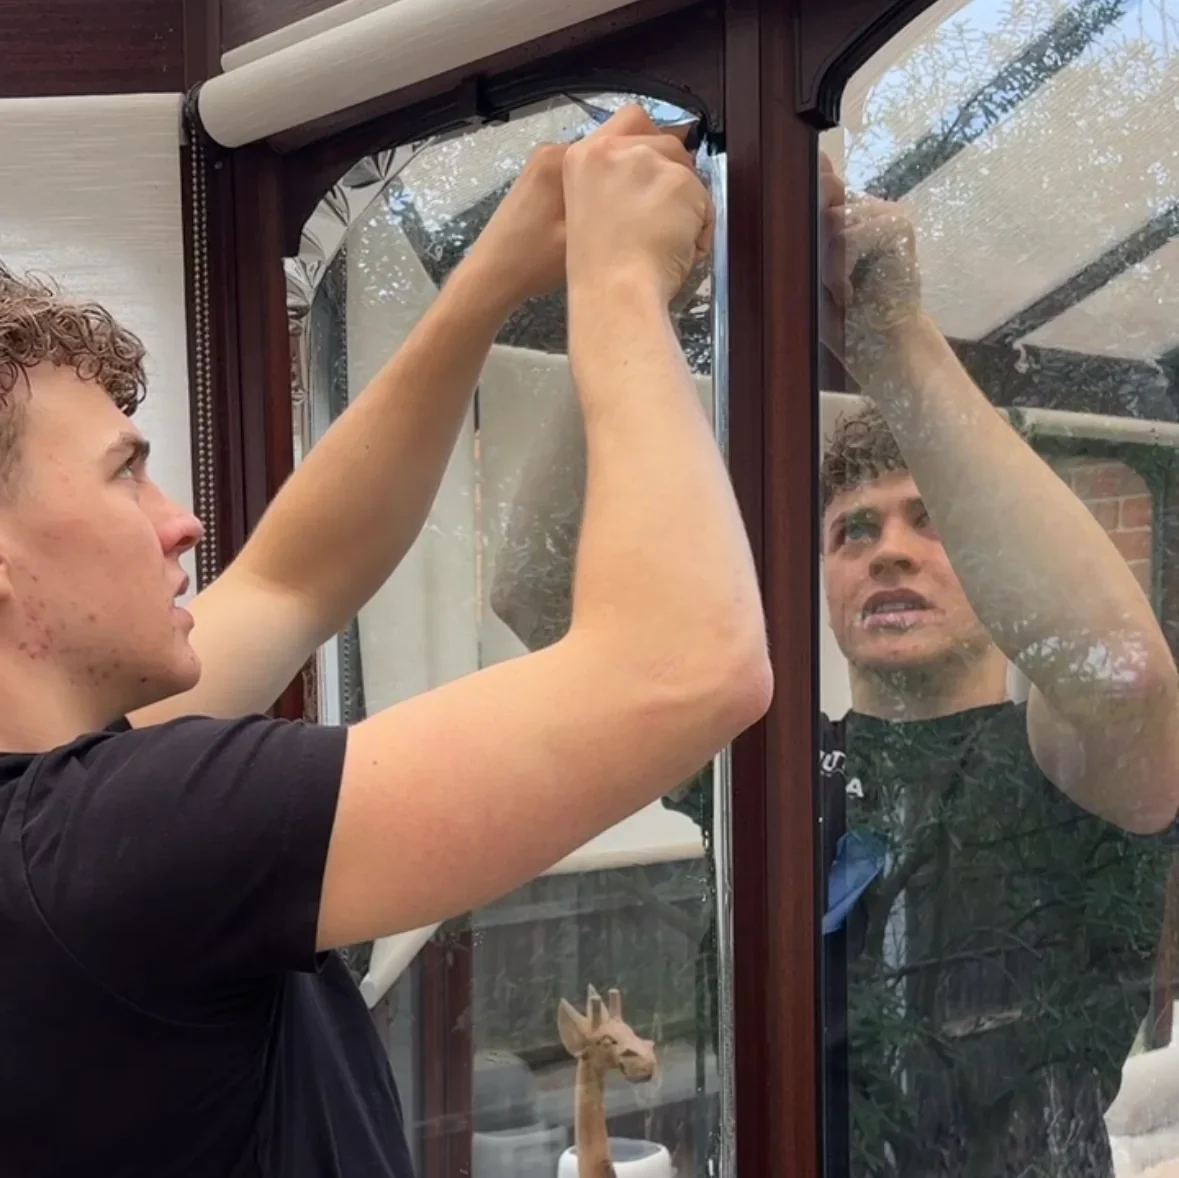
The number of times we’ve had customers attempt to install Window Film themselves and end up with bubbles, uneven cuts, and creases is astonishing.
In this guide, we’ll break down exactly what makes DIY window tint so challenging — and why professional installation often delivers better long-term results.
1. Surface Preparation Is More Demanding Than You Think
The number one reason DIY window tint fails is poor preparation.
Window Film is extremely thin. That means any dust, debris, residue, or tiny fibre left on the glass will show through the finished result.
Before applying Window Film, the glass must be:
- Completely free of grease and oils
- Thoroughly cleaned (often multiple times)
- Scraped with the proper tools to remove any stubborn grime
- Properly dried to avoid introducing further contamination
In some environments, windows may be particularly dirty, or there may be significant airborne dust. Our experienced installers use specialised techniques to minimise dust exposure and get the glass as clean as possible without introducing additional contamination.
2. Cutting Film to Size Requires Precision
Window Film cannot simply be cut roughly and adjusted later.
It must be:
- Measured accurately
- Cut with precision
- Aligned correctly before squeegeeing
Even a 2–3 mm miscalculation can result in:
- Gaps around the edges
- Overlapping film
- Visibly uneven borders
Sometimes windows are curved or have uneven or brittle gaskets. Our installers understand how to achieve the best possible finish, even in unforgiving conditions.
Window Film does not forgive mistakes. Once it adheres to the glass, adjustments are limited.
This is one of the main reasons DIY window tint often looks uneven compared to professional installations.
3. Air Bubbles and Creasing Are Common
One of the most frustrating issues with DIY window tint is air bubbles.
During installation, you must:
- Apply a slip solution (usually water mixed with a small amount of soap)
- Position the Window Film correctly
- Use a squeegee at the correct angle and with consistent pressure
- Remove all moisture from beneath the film
If pressure is uneven or technique is incorrect, you may end up with:
- Air pockets
- Water bubbles
- Silvering (tiny visible air gaps)
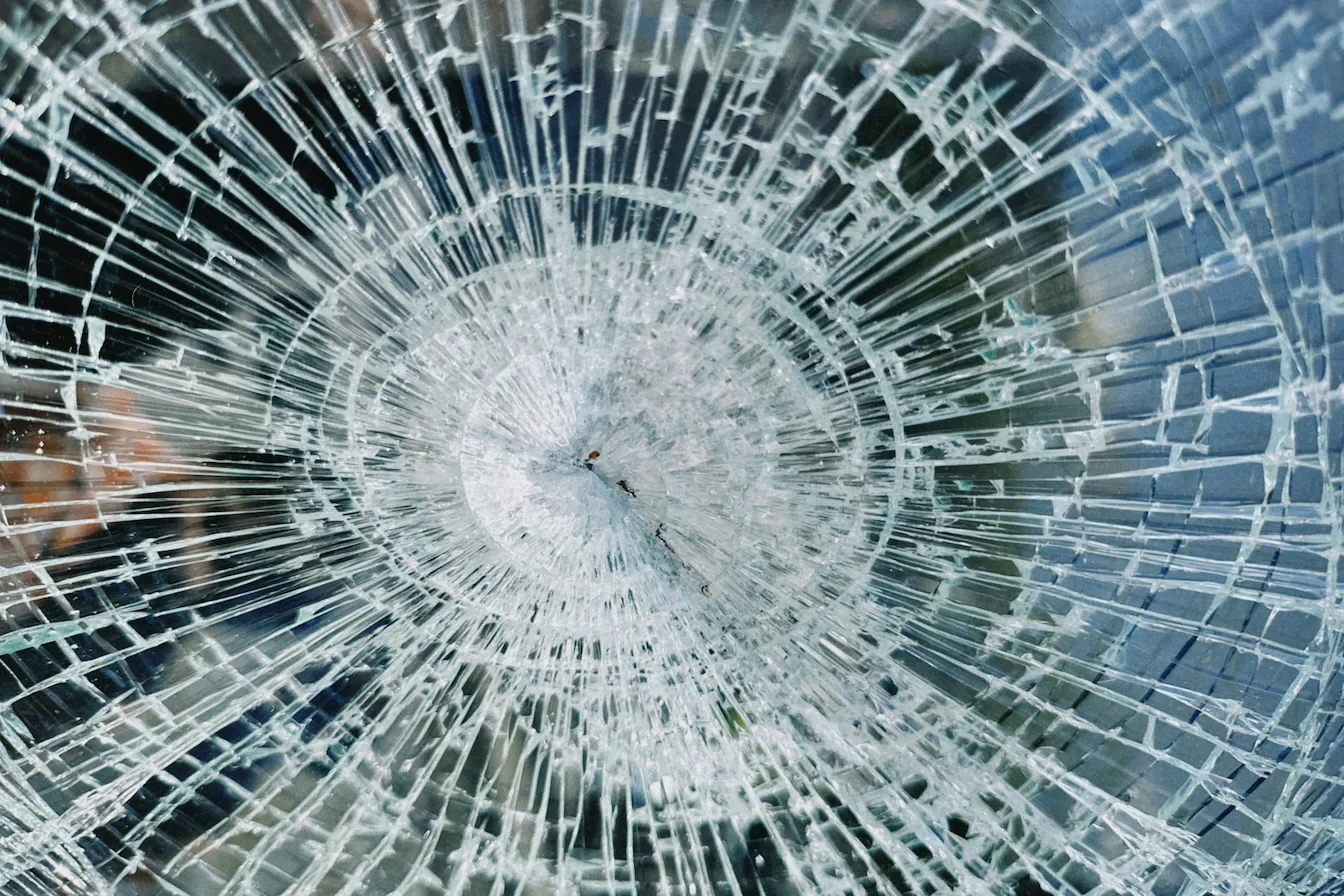
- Creases that permanently damage the Window Film
Once a crease forms, it cannot be repaired. The Window Film usually has to be removed and replaced entirely.
Our installers have worked with many types of Window Film and, like anyone learning a skilled trade, have made mistakes in the past. That experience allows us to apply the correct pressure using professional tools to remove all moisture without leaving creases or imperfections.
5. Not All Glass Is Suitable for All Films
A major issue with DIY window tint is choosing the wrong product.
There are many types of Window Film, including:
- Solar control film
- Privacy film
- Frosted film
- Security film
Different glass types are only suitable for certain Films. Applying the wrong type of Window Film can increase heat absorption and potentially cause thermal stress cracks in some glass units.
Professional installers assess:
- Glass type
- Orientation (north, south, etc.)
- Existing coatings
- Frame type
DIY buyers often rely solely on product descriptions without fully understanding compatibility risks.
We know our Films inside out and would never recommend a Window Film that we believe is unsuitable for your project.
6. The Quality of DIY Tint
DIY window tint is often significantly cheaper and lower in quality than the premium Window Films we use.
DIY Films often:
- Are thicker and harder to work with
- Contain imperfections or roller marks
- Do not come with a meaningful warranty
- Have not been properly lab tested
The Window Films we use:
- Come with a 10-year warranty
- Provide independently tested performance data
- Use higher-quality materials
- Offer a stronger adhesive bond
Our Window Film installations are an investment. You can be confident that our Films will perform as specified by both us and the manufacturer — without poor results or hidden caveats.
We have tested many different Films over the years, and using a low-quality product would simply undermine our workmanship.
7. Large Windows Multiply the Difficulty
Tinting a small bathroom window is very different from tinting:
- Bi-fold doors
- Office partitions
- Shopfront glass
- Conservatories
Larger panes often require:
- Proper handling
- Accurate positioning
- Multiple installers
Handling large sheets of Window Film without creasing them can be nearly impossible without experience.
Many DIY installers realise halfway through the job that the size of the glass dramatically increases the complexity.
Click here to learn more about a large job we completed in Purleigh, Essex
9. Drying Time and Aftercare Are Often Misunderstood
After installation, window tint will not look perfect immediately.
It can take several days — sometimes weeks — for moisture to fully evaporate.
DIY installers often mistake normal curing haze for failure and attempt to fix it, which can cause further damage.
Additionally:
- Windows should not be cleaned immediately
- Abrasive cleaners must be avoided
- The Window Film can be scratched if not treated carefully, particularly around pets or children
Without proper aftercare guidance, a DIY installation may not achieve the longevity it should.
10. The Cost of Mistakes Adds Up
DIY window tint appears cheaper at first.
However, once you account for:
- Buying extra film after mistakes
- Potentially replacing damaged glass
- Wasted time and effort
The true cost becomes much higher.
Removing failed Window Film can be more difficult than installing it. Adhesive residue often requires careful scraping and specialist cleaning.
As mentioned earlier, many customers ultimately end up paying companies like ours to remove poorly installed Film and replace it properly — significantly increasing the overall cost.
Is DIY Window Tint Ever Worth It?
DIY window tint may be suitable for:
- Small, non-critical windows
- Temporary privacy solutions
- Experienced DIY enthusiasts
Final Thoughts: Why DIY Window Tint Is Harder Than It Looks
DIY window tint is challenging because it combines:
- Precision cutting
- Technical surface preparation
- Adhesive control
- Environmental awareness
- Specialist tools
- Installation experience
It’s not simply applying a sticker — it’s a controlled technical process.
For homeowners and business owners considering DIY window tint, understanding these challenges helps set realistic expectations.
While it’s possible to achieve acceptable results, achieving a flawless, long-lasting finish requires skill that typically comes from hands-on experience.
If appearance, durability, and performance matter — especially for larger or high-visibility areas — professional installation remains the most reliable option.
Want a professional installation for your home? Fill out our user-friendly form with your requirements and receive your free online quote today.